

OEM Assembly Cylinder Head Selection Made Simple
2026-09-01
Most cylinder head selection guides bury you in spec sheets before you've even opened the hood. This one won't. Whether you're rebuilding for daily duty or chasing weekend torque, the right OEM assembly cylinder head should fit your build without forcing you through a parts-counter guessing game. DDR cuts the clutter by matching factory tolerances with real-world demand, so you can stop cross-referencing and start wrenching.
Casting Numbers Tell You More Than the Year, Make, and Model
Most people glance at a casting number and only see digits that confirm what they already know from the fender badge. That surface-level read misses the real story. These sequences are not just inventory labels; they encode revision timelines, engineering shifts, and even the exact foundry that poured the metal. If you know how to parse them, a single string can tell you whether a part came from an early prototype batch or a late production fix, long before the model year changed.
Take a small-block cylinder head, for instance. Two heads might carry the same year and displacement, yet one casting number points to a version with reinforced rocker bosses and a revised combustion chamber. That difference matters for anyone rebuilding an engine to original spec or hunting for a performance upgrade without swapping entire assemblies. The year, make, and model tell you where the part fits; the casting number tells you how it evolved, who supplied the raw casting, and whether it was ever superseded.
This is why experienced restorers and racers spend hours cross-referencing casting logs and foundry marks. They understand that a mid-year change can mean the difference between a part that bolts on and one that needs machining, shims, or a different gasket set. Relying solely on year, make, and model often leads to ordering a "correct" part that does not actually match the casting in hand. The number stamped into the iron or aluminum is the true fingerprint — it carries the history that the brochure never mentions.
Chamber Volume and Piston Dish Must Agree Before You Bolt Anything On
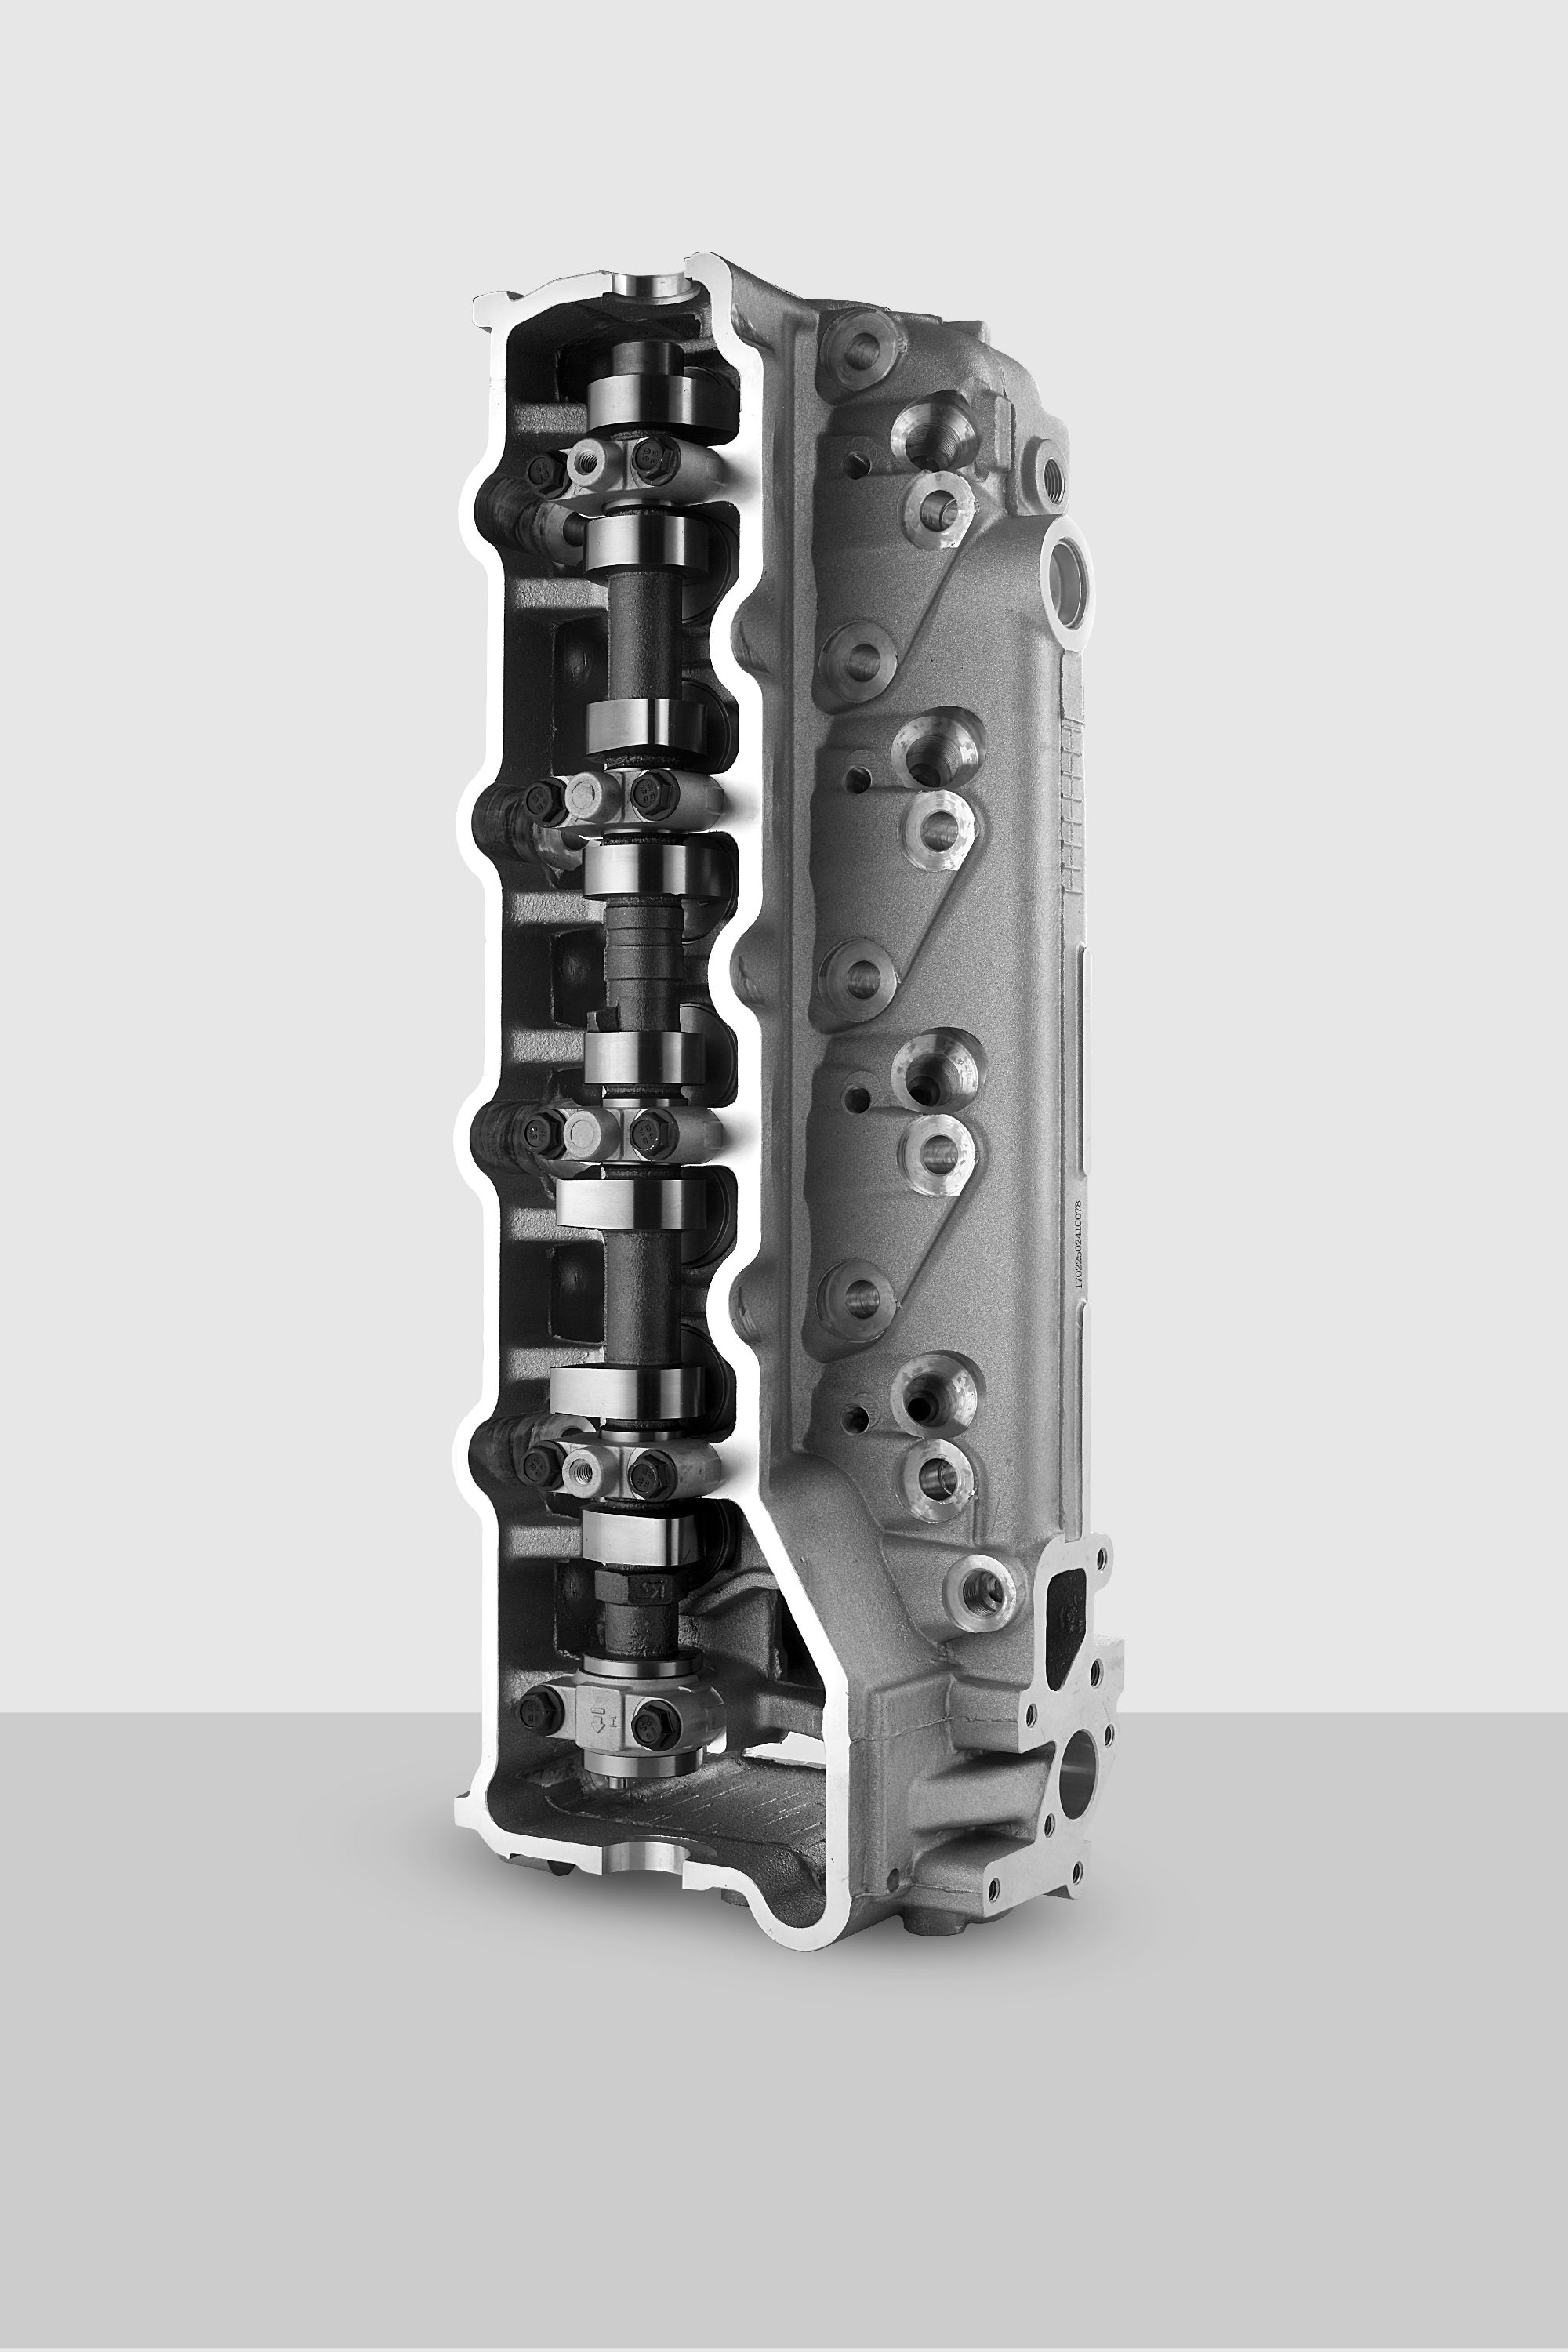
You can have the finest heads on the shelf and a set of pistons that look right in the box, but until you actually measure the chamber volume against the dish volume, you're just guessing at compression ratio. The two numbers work together to define the clearance volume above the piston at top dead center, and a mismatch of even a few cubic centimeters can shift your static compression by half a point or more. On pump gas, that's the difference between a crisp, responsive engine and one that rattles itself apart under load.
The common mistake is trusting catalog specs or assuming every head casting is identical. Core shift, previous surfacing, and valve seat depth all change chamber volume from what the brochure claims. Same story on the piston side—dish volume varies with forging run and final machining. Before you bolt anything down, cc the chambers with a burette and a flat plate, then do the same for the piston dish with the ring stack in place. Add the deck clearance, head gasket bore and thickness, and only then run the compression math.
If the numbers don't line up with your target, you have two levers: cut the chambers or change the dish. But changing one without rechecking the other just moves the error around. A set of flat-top pistons in a head that's been angle-milled 0.030 inch will behave nothing like the same pistons in a virgin casting. Do the measuring before you buy gaskets, before you order head studs, and especially before you fire the engine. That thirty minutes with a burette is the cheapest detonation insurance you'll ever buy.
Valve Angle and Seat Cut Change Clearance More Than Lift Does
Valve angle and seat cut depth have a far greater impact on valvetrain clearance than most builders expect. A small change in lift—say, 0.010 inch—moves the valve tip only a fraction of that at the rocker contact, while a seat cut that deepens the valve by the same amount shifts the entire valve assembly downward and changes the lash point almost one for one. On angled valves, even a half-degree shift in seat angle alters the contact line and the effective tip height enough to require a completely different lash setting.
The reason is mechanical: lift adjustments happen through the rocker ratio, which multiplies motion at the pushrod side but not at the valve side. Seat and angle changes, by contrast, directly reposition the valve head in the chamber and move the stem tip relative to the rocker. A deeper seat cut drops the valve, so the stem protrudes farther above the guide, and the rocker must travel further to close the clearance—often wiping out the effect of a smaller lift change. Similarly, altering the seat angle from 45 to 50 degrees changes where the valve contacts the seat and can raise or lower the tip height by several thousandths, depending on the valve margin thickness.
For practical work, check seat cut depth and valve angle before chasing clearance with lift changes. A used valve with a thin margin will sit deeper after a cut, while a new valve with a thick margin may require less depth but a steeper angle to keep the tip in the correct range. In many cases, correcting the seat geometry fixes a lash problem that no amount of lift adjustment can solve.
Port Shape Sets the Torque Character—Not the Advertised CFM
A blower's inlet and outlet port geometry does far more than move air from point A to point B. The contours, edge breaks, and cross-sectional transitions dictate how the air stream detaches, swirls, and strikes the impeller blades. That local flow pattern, not the total cubic feet per minute on a spec sheet, is what sets the shape and peak of the torque curve. Two units can flow the same measured CFM on a bench, yet one will bog instantly under load because its port directs air almost axially across the blade tips, while the other will hold torque because the port forces a tangential entry that keeps the blades loaded through a wider rotation angle.
Port shape also controls where the torque arrives. A narrow, high-velocity slot near the housing cut-off can produce a sharp torque spike at low speed, making the drive feel aggressive but hard to modulate. A broader, tapered port spreads the same airflow over more blade surface, flattening the torque curve and giving the operator more controllable part-throttle response. This is why swapping a larger CFM motor onto a tool often disappoints: the port geometry that worked for the original displacement may create recirculation or early venting with the new rotor, wasting airflow before it can do useful work.
The practical takeaway is to stop chasing CFM as a proxy for grunt. If you are tuning a pneumatic drive or a blower-assisted system, modify the port entry angle, width, and transition length before assuming you need more airflow. Even a small radius on the port's inner corner or a change in the discharge tongue position can shift the torque peak by several hundred RPM without altering CFM at all. Torque character lives in the port map, not in the marketing number.
Deck Thickness and Core Shift Show Up When You Least Expect Them
A deck that looks perfectly flat on the shop wall can still hide a thickness difference of a few tenths of a millimeter. You won't spot it by eye, and the graphic hides it even better. But after your first real session, that slight extra meat in the nose or tail changes how the board flexes under your back foot. Kickflips feel sluggish, manuals want to tip forward, and you start blaming your shoes or the grip tape when it's actually the wood itself playing tricks on you.
Core shift is even sneakier. A wheel can spin straight in your hand, the bearing seat feels fine, and the urethane looks uniform. But if the plastic core is off-center by just a millimeter, the wheel starts to hop at speed on smooth concrete. Your legs feel a buzz that you'd swear is rough ground, so you ride through it and adjust your stance. Swap the wheels to a different set and the vibration vanishes—that's the moment you realize the shift was there all along.
These flaws don't announce themselves on a spec sheet or in a product photo. They show up when you're mid-line, deep into a session, or trying to land something new. The best way to catch them isn't with a caliper or a runout gauge—it's by trusting what your feet and board tell you after the first hour. If something feels dead or chattery, don't assume it's your technique. It might just be the deck thickness or a shifted core waiting for the worst possible moment.
OEM-Intended Gasket Bore and Thickness End the Quench Debate
The quench debate usually starts when an engine builder reaches for a replacement head gasket and notices that aftermarket options don’t always match the factory print. Quench is simply the piston-to-head clearance at top dead center, and the compressed gasket thickness is one of the most direct levers you have on that number. A gasket with the OEM-intended bore and compressed thickness keeps the quench distance where the original engine designers wanted it, without requiring you to second-guess deck height or piston protrusion.
Deviating from those specs rarely pays off on a street or mild performance rebuild. A thicker gasket opens up quench and can make the engine more detonation-prone under load, while a thinner one may leave you with piston contact or an unwanted bump in compression. Bore diameter matters too: too small shrouds the valves and disrupts flow, too large can compromise cylinder sealing. The OEM dimensions aren’t accidental—they balance quench, compression, and combustion chamber shape as a system.
Choosing a head gasket by the original bore and compressed thickness removes most of the guesswork. Measure your deck and piston height, confirm the gasket you’re about to install actually matches the factory numbers, and the quench argument is over before it begins. This isn’t about limiting performance; it’s about respecting the baseline geometry that the engine was designed around.
FAQ
Start with the casting number and engine family. The casting number stamped into the head is the fastest way to match it to your block, and checking the engine displacement and year range will keep you from ordering something that almost fits.
A true assembly normally arrives with valves, springs, retainers, seals, and sometimes camshafts already installed. You may still need to transfer external items like the valve cover, sensors, or thermostat housing depending on the application.
Pull the cam caps and look for scoring, check the deck surface with a straight edge, and have the head pressure-tested for cracks. If it has been resurfaced before, measure the overall height to be sure it is still within the minimum specification for your engine.
A bare head is just the casting and often needs all internals fitted, while an assembly comes with the valvetrain components already installed and roughly adjusted. For most home mechanics the assembly saves hours and avoids buying mismatched parts.
The bolt pattern alone is not enough. You have to confirm combustion chamber volume, valve sizes, intake port shape, and accessory mounting points. Swapping based only on visual similarity frequently causes compression or airflow problems.
Aftermarket castings can be inconsistent in port alignment and deck thickness. An OEM assembly keeps the factory heat treatment, oil passage layout, and valve seat material, so it usually needs less finishing work before installation.
Ask for the OEM part number, the date code, and whether the head has been magnafluxed or pressure-tested. If it is sold as remanufactured, request the deck height measurement and a list of which components were replaced.
Conclusion
Choosing an OEM assembly cylinder head stops being a guessing game once you read the casting number as a physical record rather than a catalog label. The digits and letters stamped into the iron tell you the original chamber size, valve layout, and deck thickness before any marketing sheet does. Mismatched chamber volume and piston dish will fight each other from the first crank, so verify the dish depth against the head's actual cc measurement instead of trusting a build sheet. Valve angle and seat cut matter more than raw lift because a steep angle or a deep seat can sink the valve into the chamber and eat clearance that a bigger cam never uses.
Port shape dictates how the engine pulls, not the peak cfm advertised on a flow bench. A square, high-velocity port builds torque where a street engine lives, while a huge round port trades that for a number you rarely see. Before bolting anything on, check deck thickness and core shift with a straightedge and a sonic tester—core shift hides under fresh paint and turns a flat deck into a leaker. Finally, the OEM-intended gasket bore and compressed thickness settle the quench argument. Run the gasket the factory paired with that casting and the quench distance falls into a safe band, keeping detonation down and combustion efficient without chasing aftermarket gimmicks.
Contact Us
Contact Person: Shelly
Email: [email protected]
Tel/WhatsApp: 8613967667688
Website: https://www.yongyu.com/